Not all locations are created equal. Still, with a little ingenuity, you can make them all look stunning.
As filmmakers, for one reason or another, we sometimes have to make do with what we have.
Maybe you had that perfect location locked, and they canceled on you at the last minute. Or perhaps, more likely, you might be a young filmmaker looking to get started, and you simply can’t afford expensive locations and the headaches that come with them.
This often means you’ll end up shooting in your home or that of a friend at little to no cost — there’s a reason that there is an abundance of short films set in houses and apartments. Your house might be a nice place to live, but that doesn’t mean it’s the best shooting location.
Nonetheless, filmmaking at any level is all about problem-solving. The good news is that with the right skills and tools, you can make these locations work.
Film Riot's Ryan Connolly works with DP Daniel Roth to demonstrate just that. Ryan is going for a certain dark, thriller look, but there’s still plenty of useful advice here for any filmmaker with limited resources looking to create other types of atmospheres. Check out their video, then let's break down the two setups to make any location cinematic.
Setup One
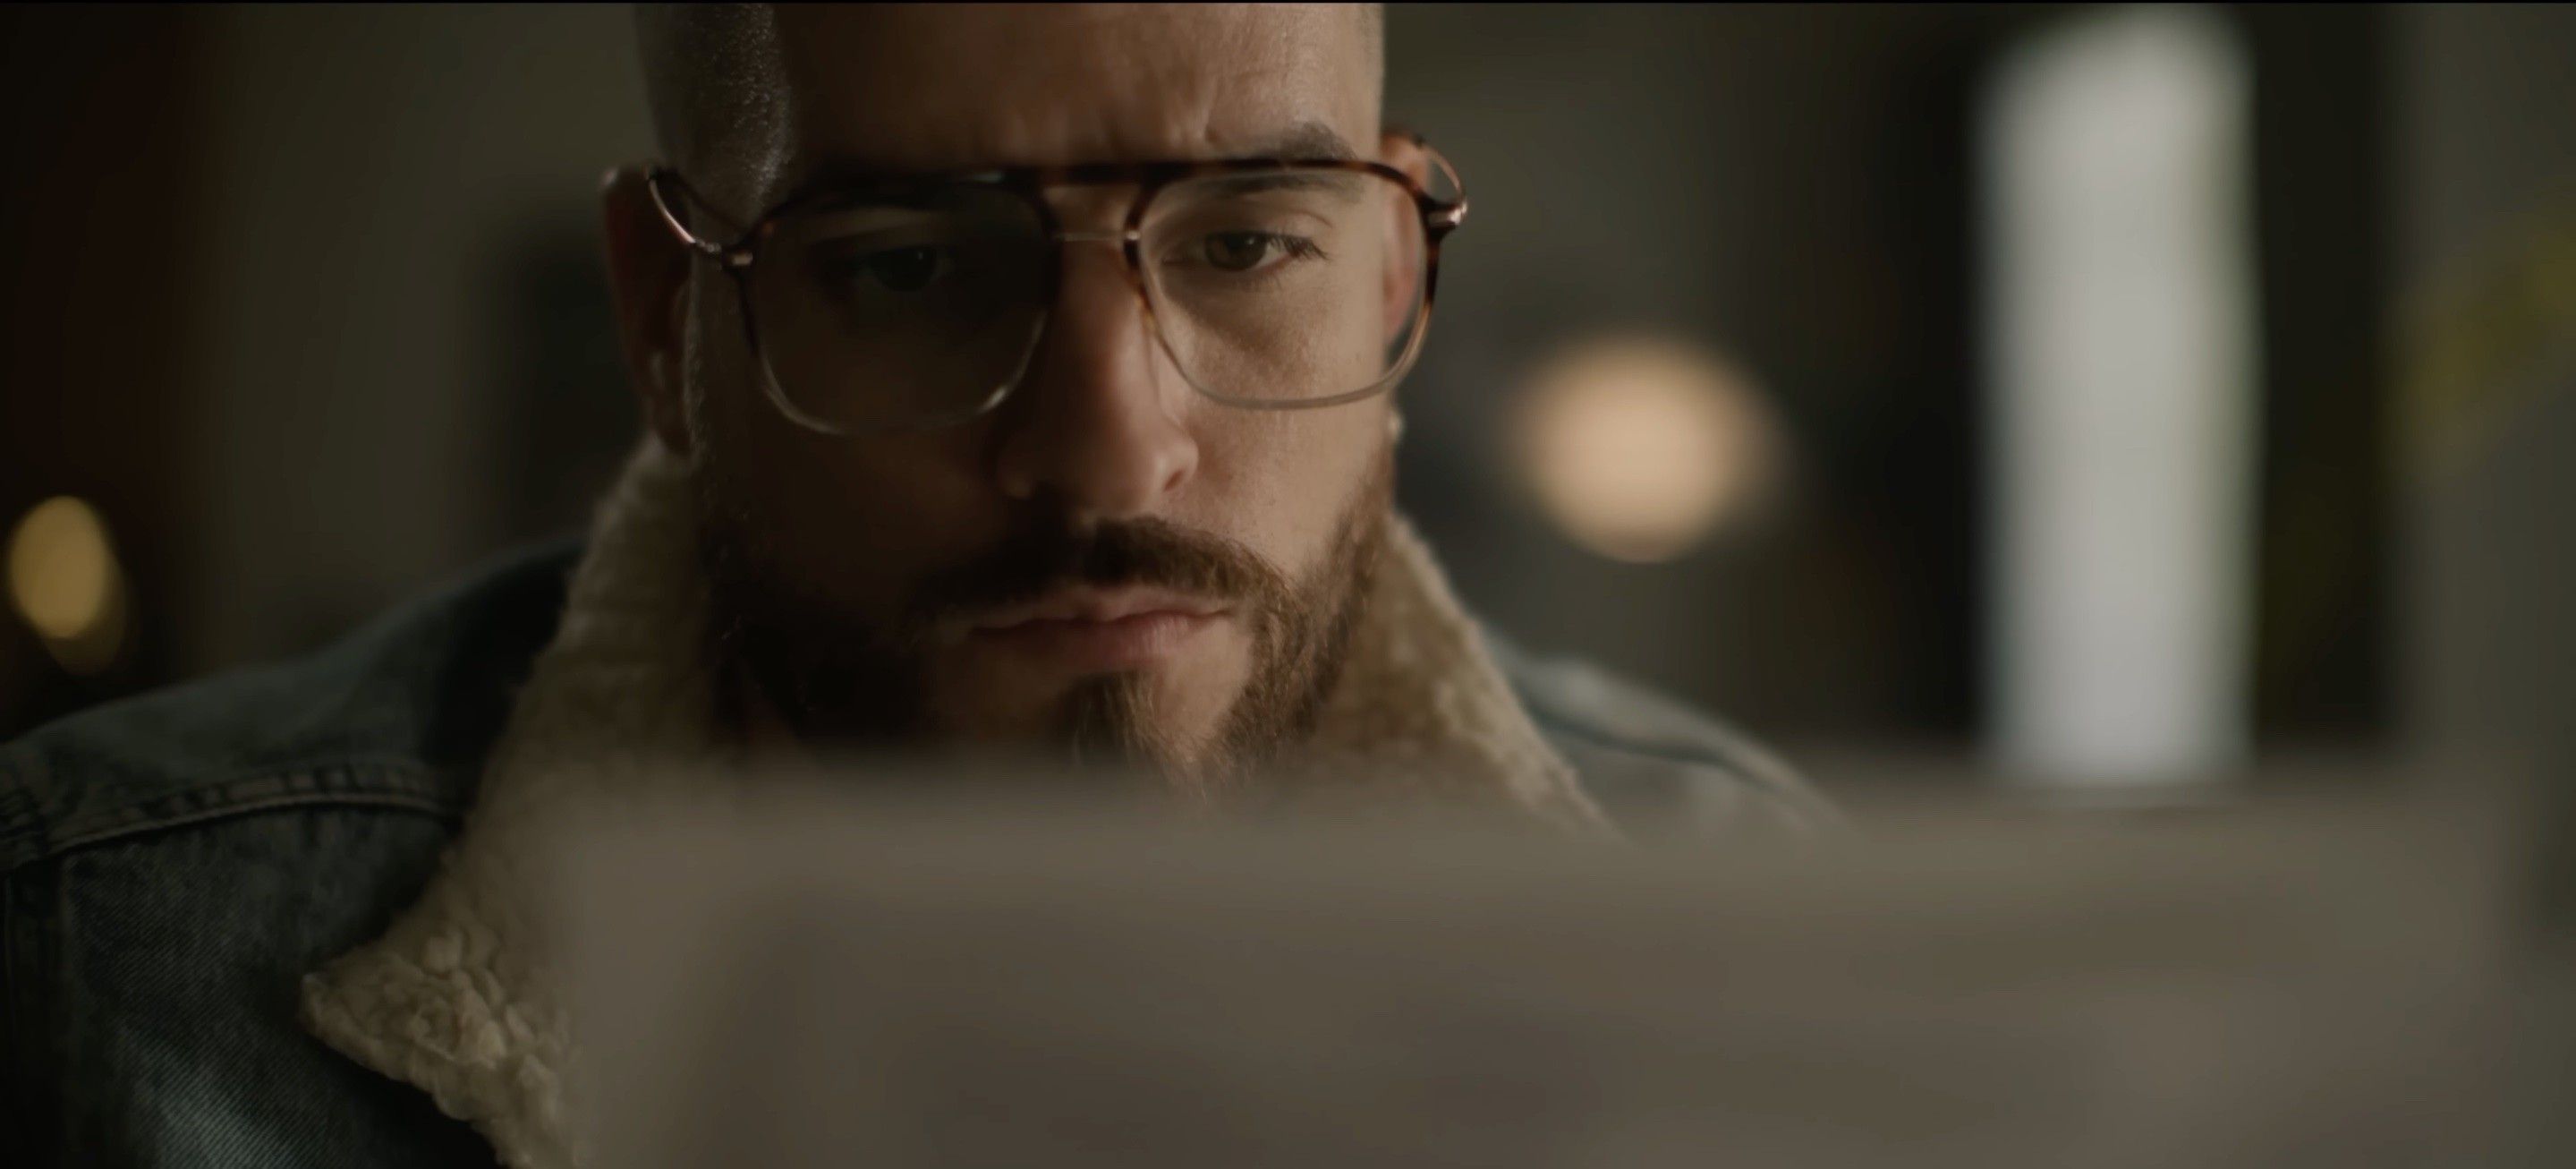
The first step is to set up the camera. Ryan and Daniel strategically choose a spot which gives them depth and some natural light to take advantage of. They place their actor on a couch which has a wall some distance behind it. At first, the lighting looks… well, pretty ugly.
To start, Ryan and Daniel shut off all the house lights and adjust the camera to an f-stop that gives them a more shallow depth of field. Their actor is now lit by nothing but the natural light coming in from a window off to one side. It’s an immediate improvement, but of course it’s going to need more light.
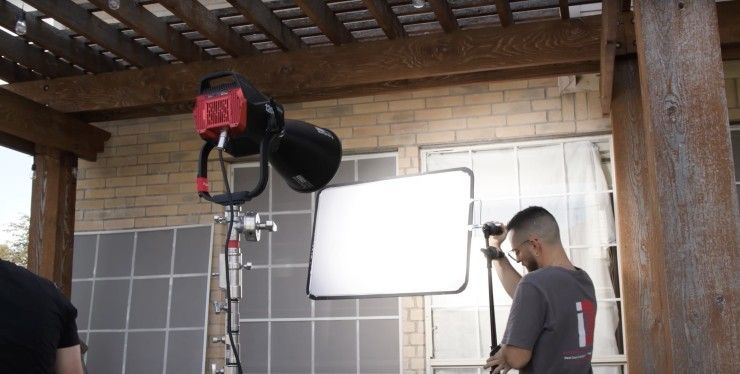
For a key light, they place an Aputure LS 1200d Pro LED light outside the window and use a technique called “double breaking” to send the light through two stages of diffusion.
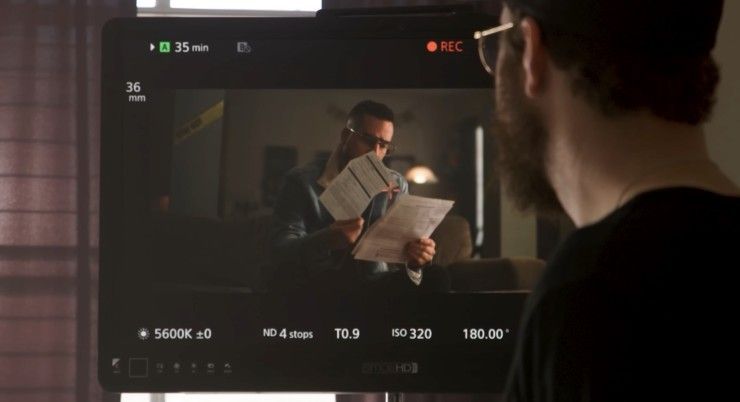
They also decide that they want to bring the brightness of the wall in the background down. Instead of altering a window that is playing on the wall, they bring the light on their actor up and compensated in the camera to bring the wall down relative to the key light.
After fixing some final details, the shot is looking pretty good. However, to give the environment more atmosphere, Ryan finishes by adding some haze.

Setup Two
In this second setup, Ryan and Daniel want to go for a “Fincher thriller vibe.” They find an angle that points down a hallway and towards a staircase, where they place their actor, again giving them some good depth.
They once again start by shutting off all the house lights. This produces a scene that is much too dark, even for the thriller look they are going for.

However, this is all looking slightly too digital for Ryan. What does he do? You guessed it: haze.
There are many different approaches to creating a cinematic location, but these two techniques are a good starting place. Learn how to light for the space, then adjust the lighting until you are satisfied with the aesthetic created in the frame.
Let us know in the comments some of your own techniques for making dull locations cinematic.
Your Comment
1 Comment
Then there's the question of if you want to simplify or complexify the background (i.e. doing a bit of cleanup, or adding posters or items to a blank wall.)
January 17, 2023 at 5:20AM