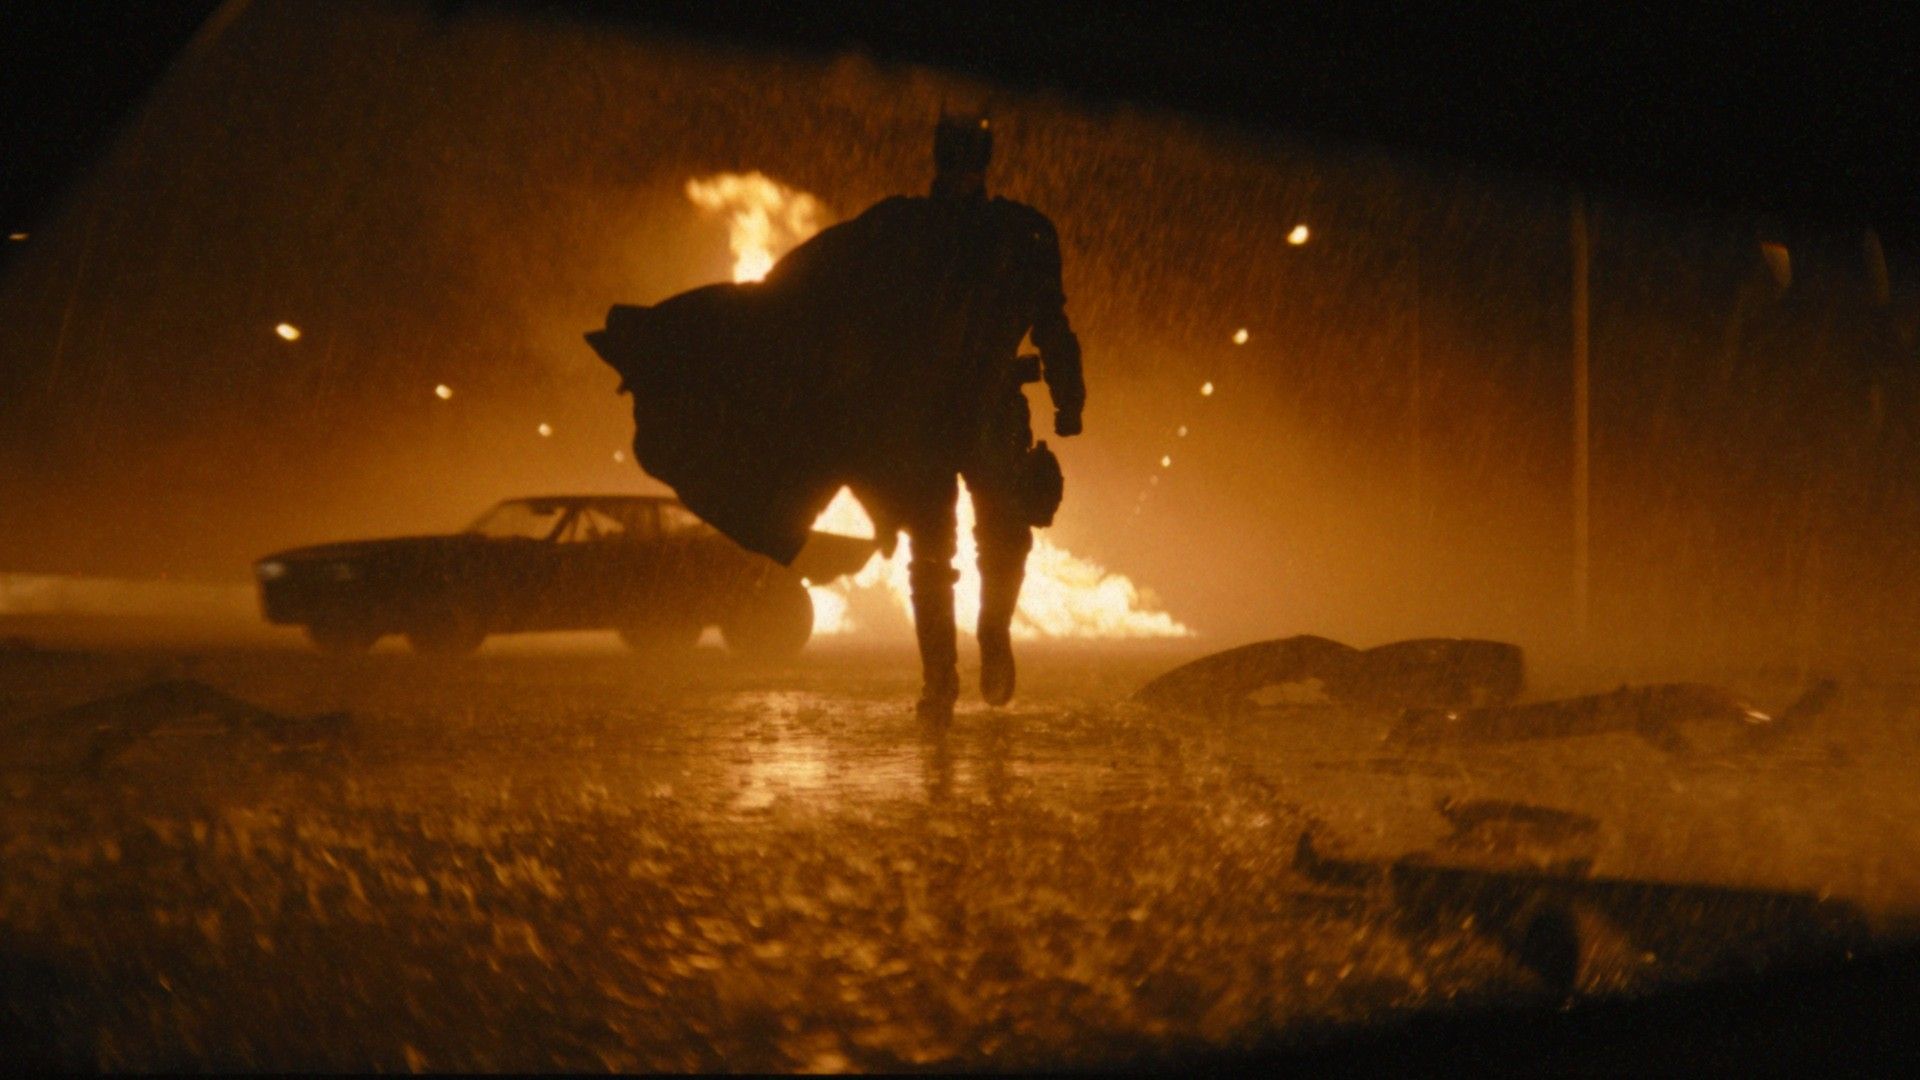
The Batman, directed by Matt Reeves with cinematography by Greig Fraser, looks stunning. Here’s a look at why and some tips from Film Riot to recreate the look.
Matt Reeves has come out swinging with his take on the tragic story of Bruce Wayne and Gotham. The look and feel borrow heavily from Alfred Hitchcock and 70s thrillers, giving the new film a gritty, emotional feel that stands on its own among the canon of Batman films.
In a video essay on his YouTube channel, Patrick Tomasso broke down the cinematography to figure out the techniques and approach that Reeves and Fraser took to make this cinematic spectacle. Let’s check out his thoughts and see how Film Riot can help creatives achieve a similar look on their own.
Dirtying Up the Frame
A cinematography term used to add elements in the foreground or blur elements in the background, dirtying up the frame adds texture and depth to an image.
In The Batman, this can be seen almost in every frame, where the composition was not only structured in 2D space but also in the foreground, the background, and on the edges of the frame.
To achieve this look, Fraser and his creative team used custom-built lenses from ARRI, inspired by 70s-era anamorphic glass that provided character and were “some pretty messed up lenses,” as Reeves stated in an interview.

The ARRI ALFA anamorphic lenses used on The Batman were created specifically for large-format cinematography and were modified from a set of ARRI Master anamorphic primes. The base lenses were not only adapted to cover the larger format but were redesigned and detuned to Fraser’s specifications.
This created a lens kit with the necessary resolution in the center but had a harsh falloff in the edges to focus a viewer's gaze into the middle of the frame.
So much so that Frazer stated, “people are never going to employ us again,” due to the falloff. But now, having seen the final product, we don’t think that will be the case.
The lens choice played well with the Hitchcockian composition and lighting the creative team used on set. Many scenes were center framed or played out in silhouette, lending a unique vantage point for the audience.

Reeves went on to say, “There were times when Greg would take a (filter) and put a little bit of silicon on it… so that when you put it in front of the lens and when it got wet, you had the sense that it wasn’t just that we were in rain that was perfectly photographed, the lens itself got wet. So you feel in the middle of it.” He concluded that “everything was about putting you squarely in that experience.”
The entire film avoided the commercial gloss that many blockbuster films rely on, especially those that use loads of VFX.
Speaking of…
VFX and the Volume
Fraser was also the cinematographer on The Mandalorian and brought all he learned from shooting in the volume on that project.
What’s a volume? Have a quick read about it here.
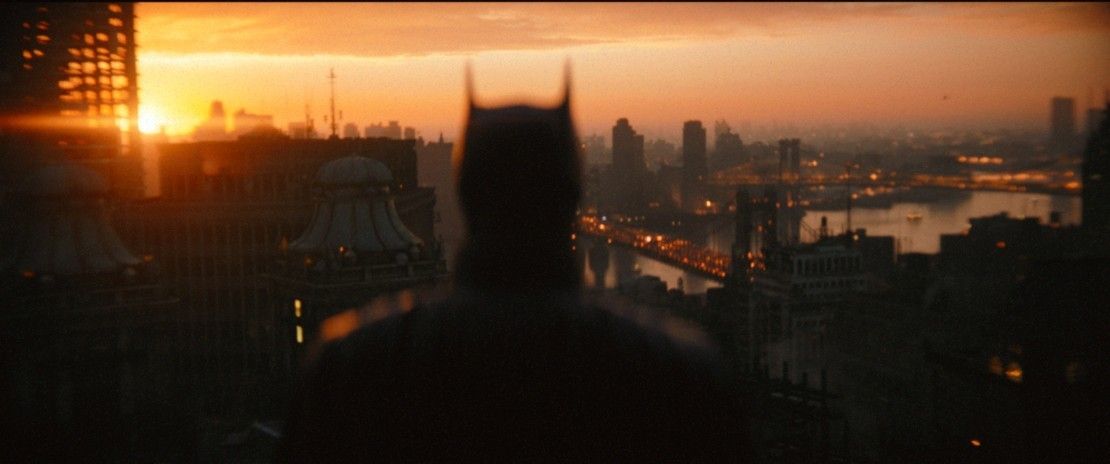
Similar LED projection walls were used for several sequences shot atop a half-built skyscraper in The Batman. This allowed for minute control of the lighting and the art direction and helped unify the tone and mood from scene to scene.
This leads us to talk about color.
Color Grading with Film on Digital
Much like his time on The Mandalorian, Fraser also used a unique technique developed during his work on Denis Villeneuve’s Dune, which you can also read about here.
To quickly sum up, the digital footage on Dune was transferred to film and then back again to maintain low grain and imbue the footage with the qualities of celluloid.
However, the team on The Batman took it one step further. They shot digitally on an ARRI Alexa LF, transferred the digital footage to a film negative, and then to an interpositive, an orange-based motion picture film with a positive image made from the negative. Finally, it was scanned back into digital!
To keep with the inspiration of 70s-era cinema, Reeves and Fraser utilized this technique to get the image into what Reeves called “that very particular sort of texture that would make you feel like you were immersed visually in [The Batman] world.”
Recreating The Batman
These incredible techniques and approaches to composition are good to learn about, but how can filmmakers attempt to achieve this type of look on a budget? Or at least get inspired when pursuing their own unique images?
This is where Ryan Connolly of Film Riot comes to the rescue.
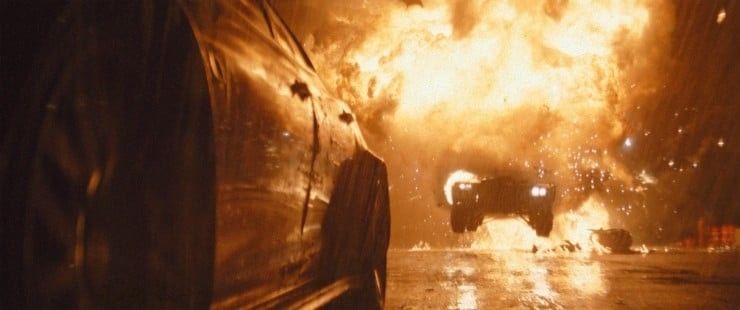
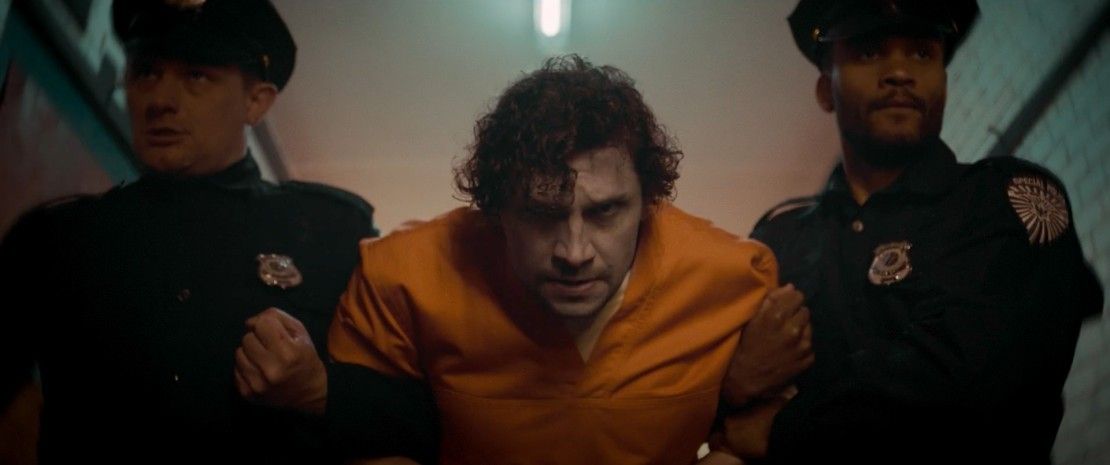
Connolly relied heavily on the color grade to ensure he achieved the look inspired by The Batman. Using a bleach bypass effect and film print emulation from Film Convert, a few simple techniques turned regular LOG footage into a gritty and dirty composition.
While this technique can be done in Premiere Pro, Connolly utilized DaVinci Resolve for his workflow and focused on a few key nodes.
Connolly created a bleach bypass effect after the noise reduction and primary correction node by utilizing two layer nodes. One of the nodes was transformed into a monochrome image, adjusted to taste, and then combined using the soft light blending mode. Users can also use overlay or hard light blending modes depending on the final look you’re going for.
The next important node is for film print emulation and sits right after the bleach bypass node. Connolly used Film Convert with the Kodak Vision 3 5207 preset and adjusted color temperature and saturation. You can also use Film Covert to add grain at the end, but if you’re delivering to YouTube, you may want to leave that out as compression kills the grain anyway.
Finally, a radial blur and vignette were added with a power window to further dirty up the frame.
The whole technique has a few more steps to give you more control over the final image, but the above three techniques are the most important in the workflow. Give the whole video a watch to understand the ins and outs.
Great Artists Steal
There’s a wide gap between Connolly's techniques and what the creative team behind The Batman used. But with the amazing tools that creatives have at their disposal, getting close may be all you need for your project.
Trying out Connolly’s workflow can also help you get inspired to create something different or continue to push you as an artist.
It can sometimes be challenging to move forward as a creative, so take all the inspiration you can get, even if you have to steal it.
Your Comment
1 Comment
It's all about the chin!
April 21, 2022 at 6:33AM